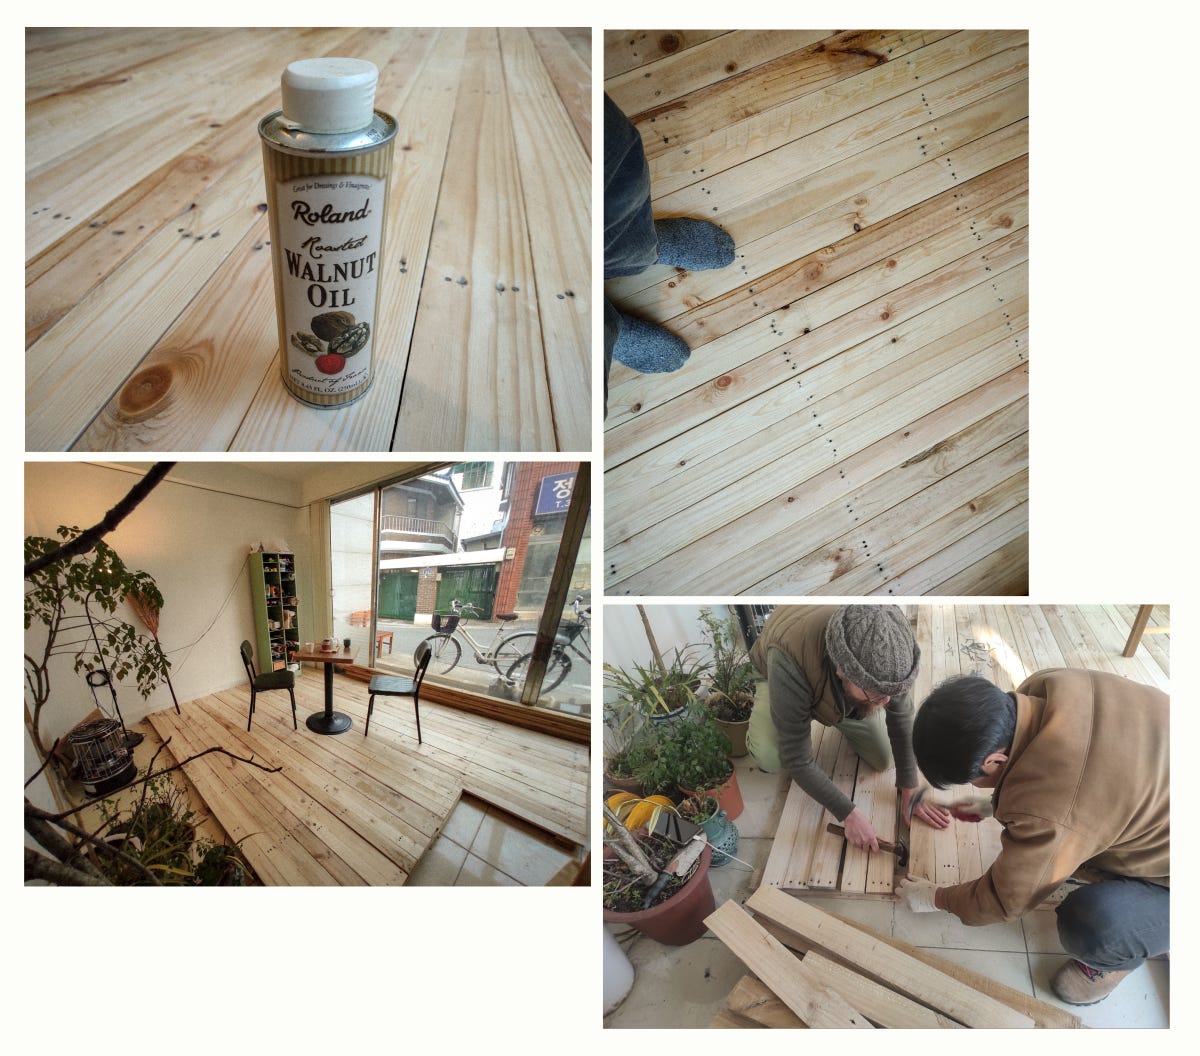
I am going to spoil the surprise by saying that we have a new wood floor, made almost entirely from lovingly-restored wood shipping pallets!
Just to type that sentence feels like a relief, and a celebration. The process of getting from “shipping pallet” to “floor” took a bit longer than we imagined. Much of it though, was simply time spent to figure out how we should go about it. There were a few problems and detours along the way. During those times, we found out what tools fit our working style best. I will be up font in saying that in the end, I prefer mostly manual hand tools and not power tools, and I will explain why that is a bit later.
But first, let’s have a quick look at the process of making a wood floor from shipping pallets, for anyone who wants to try this. There are just a few steps. Each one takes some time and effort, but they are relatively simple tasks.
In case you thought I had given up drawing for this series…
In doing this, I feel a wee bit like my tech-writing days have returned. If we want to be a bit more detailed about the process, it would be…
FIND DISUSED PALLETS — Ask around at yards and businesses which make use of such things, for wood pallets that are destined to be junked [check that they are not treated with anything toxic].
TAKE APART — Pull the pallets apart. We described our process in this previous writing, where we pried apart the boards just slightly, and cut the nails that bind them to the runners.
CLEAN — Make sure all of the nails, staples, or any embedded bits of debris are removed from the wood.
PLANE — Use an electric or hand planer to smooth the wood. You can use a sander with coarse grit (40 or 60) paper instead, but if you’ve got a lot of boards, you’ll be sanding for a real long time and burning through a whole lot of sandpaper. I recommend a nice big, manual hand plane.
RE-ASSEMBLE — Re-use those runners as joists for the floor, nailing your shiny new boards to them. We turned our joists sideways (wide part flat to the floor), cut up some yoga mat as a non-slip footing for the bottom, and spaced the joists a bit closer than the original pallet.
COAT — Finish the wood as you wish. We will not be using shoes on this floor, so it is simply oiled with a few coats of walnut oil (the kind you can use as a salad dressing). There are many other options though.
And really, that’s about it. The new floor took some weeks to slowly figure out, but it looks, feels, and smells pretty nice.
Now about that electric planer.
I am obviously not your typical macho-power-tool-loving person. But I do like to figure out how to do things as simply and easily as possible. Sometimes a power tool is the answer.
But this decision is always a balancing act. The simple and the easy are often at odds with one another.
In this case, the power planer, while indeed fast at what it does, was also immensely loud and rough on my body in ways that I did not feel were the right ways. It hurt my back, my knees, vibrated my bones to the core, and it required earplugs. It also required several hundred watts of electricity every time the blade spun up, spitting tiny wood chips and dust everywhere.
The hand planer on the other hand, felt like a nice upper body and core workout, combined with a soothing meditation. Without the need for earplugs, I could hear that beautifully soft sound of wood being shaved, and somehow that also enhanced the smell of the Hinoki. If you have stayed some amount of time in rural Japan, you will probably have noticed the scent. So although the hand planer was about 50-percent slower than the power planer, it was like a workout in heaven, where the result is not just muscles, but a beautifully restored piece of wood and these wide, curly, paper-like shavings instead of clouds of dust.
Maybe you can feel the difference in this video. It is a tale of the two planers — prefaced by Suhee’s professional nail removing workshop ;-)
In the end, if I were to make a positives and negatives list of the two tools, there would be a long check list for the hand planer, and likely just one check box on the side of the electric planer, marked ‘speed’.
For some, perhaps that one checkbox is well worth it. For me, I think I will stick with the hand planer.
—
Thanks for reading this week, and for sharing this with others. Next time, might we continue that magic journey through Juso started previously? Well. However it happens, hope to see you here next week for more tales of The Possible City.


